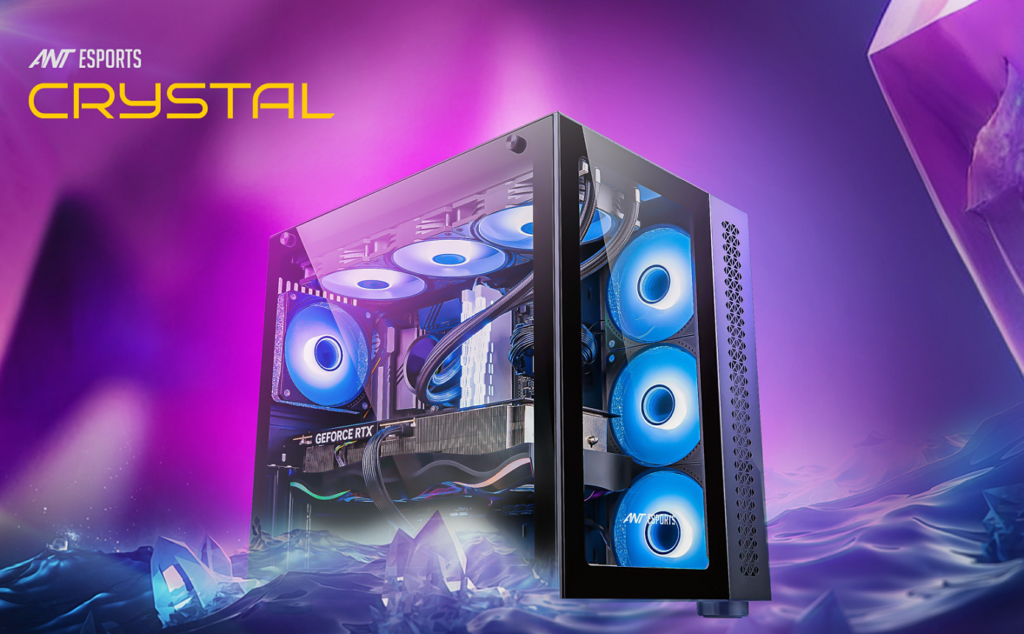
Building a desktop gaming computer can be a rewarding project that ensures you get exactly what you want from your system. Here’s a step-by-step guide to help you through the process:

1. Determine Your Budget
- Decide how much you are willing to spend. This will influence your choice of components.
2. Select Your Components
- Central Processing Unit (CPU): Choose a powerful CPU from Intel or AMD that suits your budget and performance needs.
- Graphics Processing Unit (GPU): This is crucial for gaming. Brands like NVIDIA and AMD offer a range of options.
- Motherboard: Ensure it is compatible with your CPU and has the necessary slots and ports for your components.
- Memory (RAM): At least 16GB of RAM is recommended for gaming. Choose a compatible and fast RAM kit.
- Storage: An SSD (Solid State Drive) for faster load times and a larger HDD (Hard Disk Drive) for additional storage.
- Power Supply Unit (PSU): Ensure it has enough wattage to support all your components.
- Case: A case that fits all your components and has good airflow.
- Cooling: Consider an aftermarket CPU cooler and additional case fans for better thermal performance.
- Peripherals: Monitor, keyboard, mouse, and other accessories.
3. Assemble the Components
- Prepare Your Workspace: Ensure a clean, static-free area to work in.
- Install the CPU: Carefully place the CPU into the motherboard socket and secure it.
- Install RAM: Insert the RAM sticks into the motherboard slots.
- Mount the Motherboard: Secure the motherboard to the case using screws.
- Install the PSU: Mount the power supply in the case and connect the power cables.
- Install Storage Drives: Secure SSDs and HDDs in their respective bays.
- Install the GPU: Insert the graphics card into the appropriate PCIe slot and secure it.
- Connect Cables: Attach all necessary power and data cables from the PSU to the motherboard, GPU, storage devices, and any additional components.
- Cooling Installation: Attach the CPU cooler and additional case fans if necessary.
4. Post-Assembly Checks
- Cable Management: Ensure all cables are neatly arranged and secured to improve airflow.
- Power On: Connect the power cable and turn on the system. Ensure the system POSTs (Power-On Self-Test).
- BIOS/UEFI Settings: Enter the BIOS/UEFI to check if all components are recognized and adjust settings if necessary.
5. Install the Operating System and Drivers
- OS Installation: Use a USB drive to install your operating system (usually Windows for gaming).
- Drivers: Install the latest drivers for your GPU, motherboard, and other components.
- Update: Ensure the system is fully updated with the latest patches and firmware.
6. Install Games and Enjoy
- Install Games: Use platforms like Steam, Epic Games Store, or others to install your favorite games.
- Optimize Settings: Adjust in-game settings to achieve the best balance between performance and visual quality.
Tips
- Research: Watch video tutorials and read guides specific to your components.
- Static Precautions: Use an anti-static wrist strap or periodically ground yourself to prevent static discharge.
- Compatibility: Double-check component compatibility before purchasing.
Building your own gaming PC allows for customization and upgradeability. Enjoy the process and the final result! If you have any specific questions about components or the building process, feel free to ask.

